« Back to Knowledge Base
Older Facebook Producer Method.

Streaming to Facebook Live manually using Custom RTMP Server
To stream to Facebook manually, please follow these steps. If you're using an older version of the Facebook Producer, there are more instructions below.
Step 1
Log into your Facebook account and then navigate to the Facebook Live producer dashboard: https://www.facebook.com/live/producer
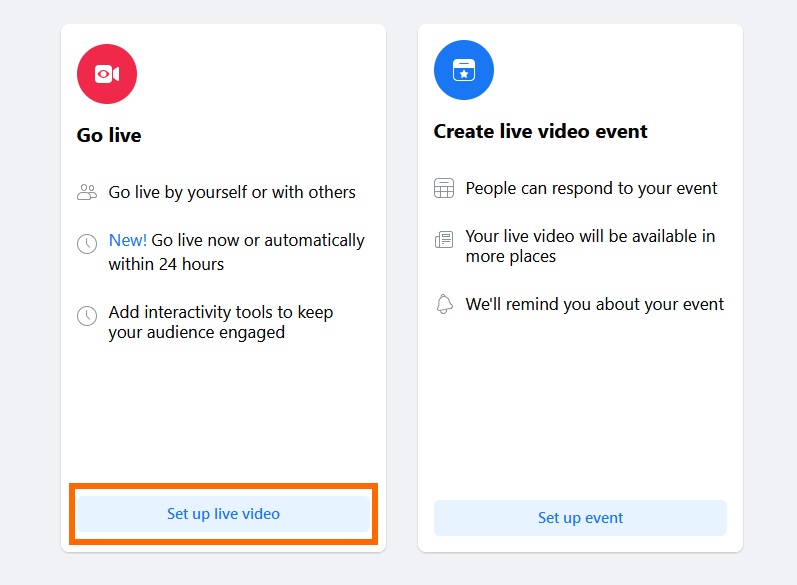
Step 2
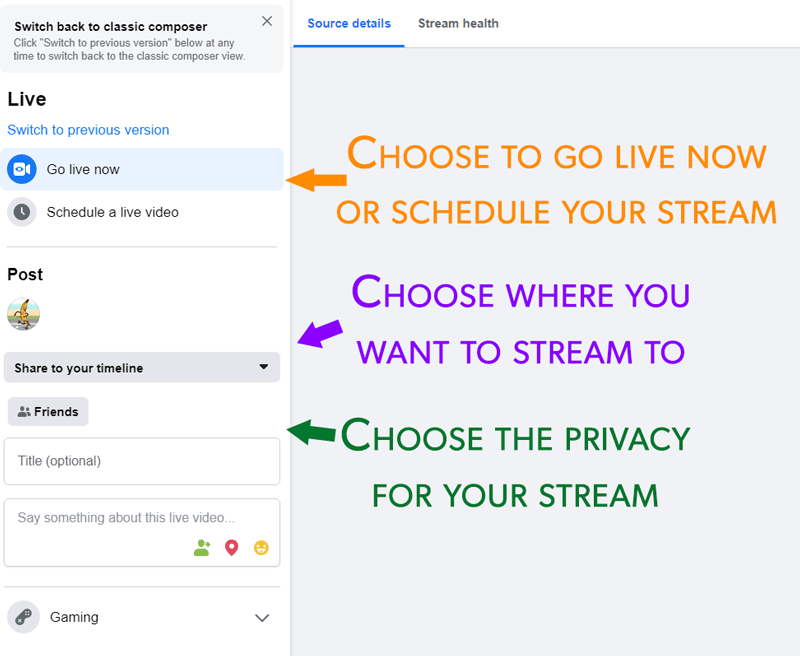
Here we're going to select to select stream now or in the next 24 hours.
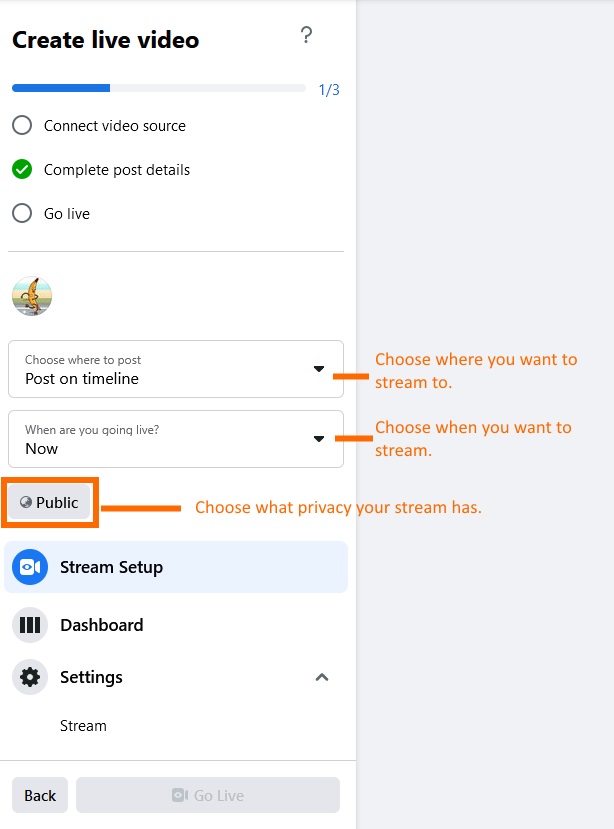
Step 3
Next you'll need to select where you are streaming to, when you're going to stream and then choose the privacy for the stream.
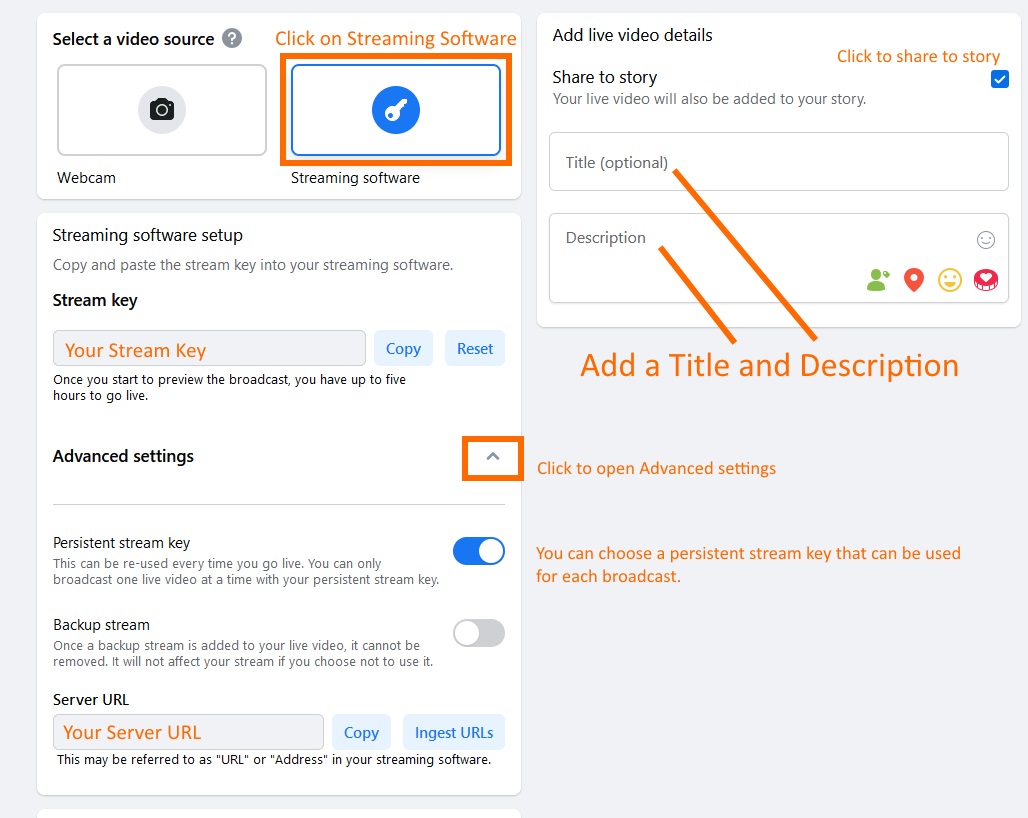
Step 4
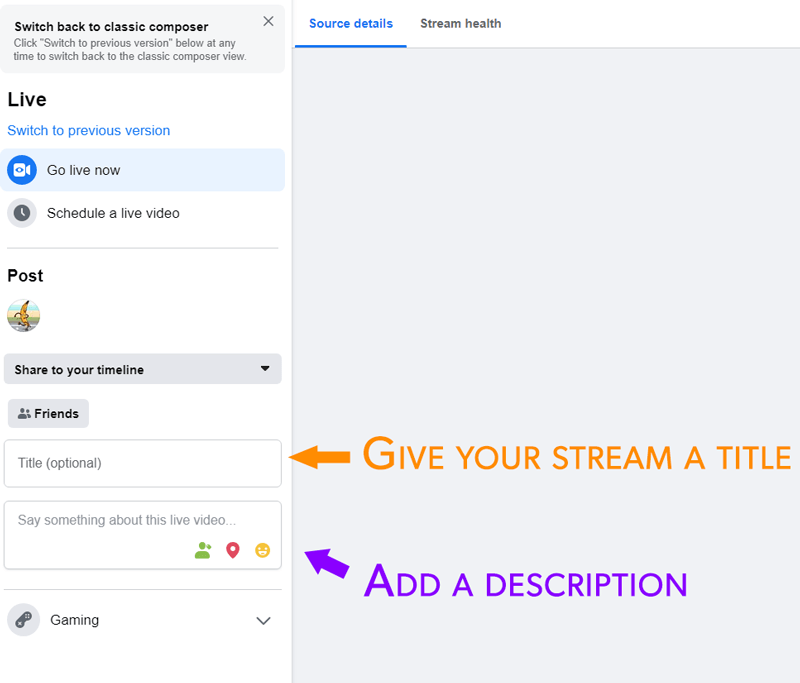
Then click on Streaming Software and add a Title and Description to your stream.
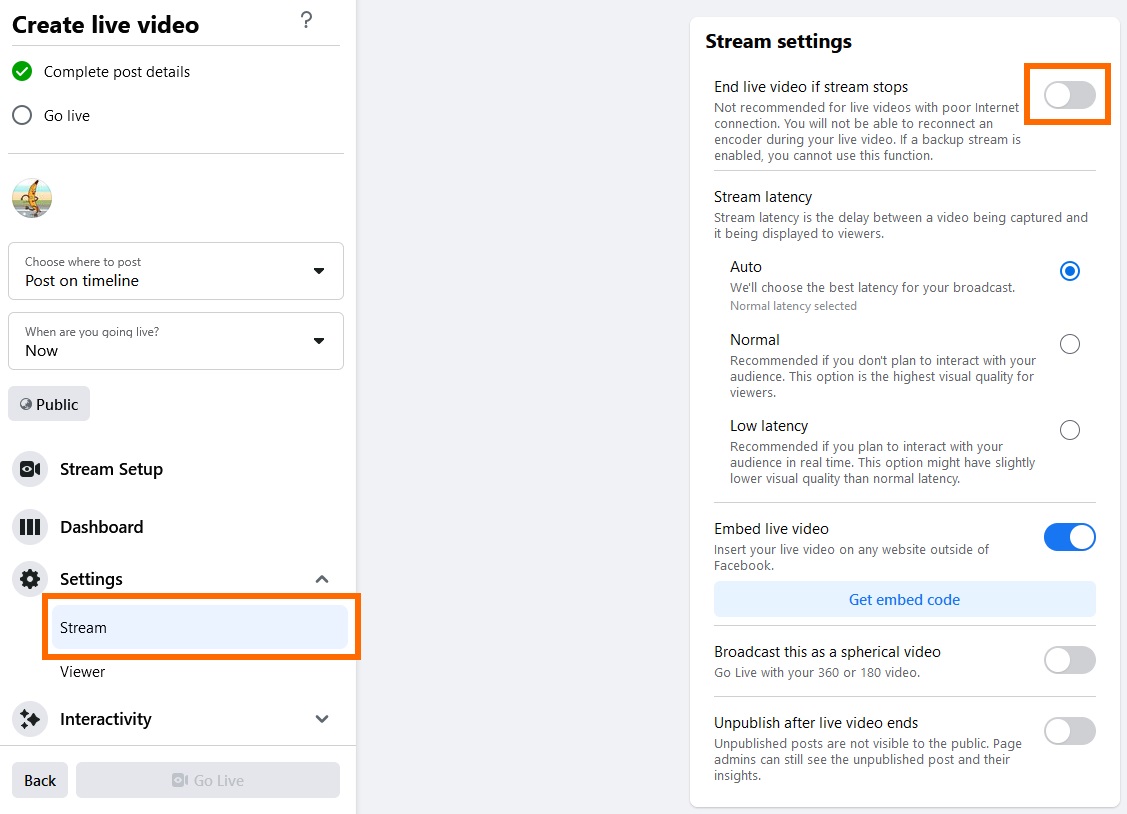
Step 5
Next click on Stream under setting and turn off the option to End live video if stream stops. You can can adjust your stream's latency here and grab an embed code.
Step 6
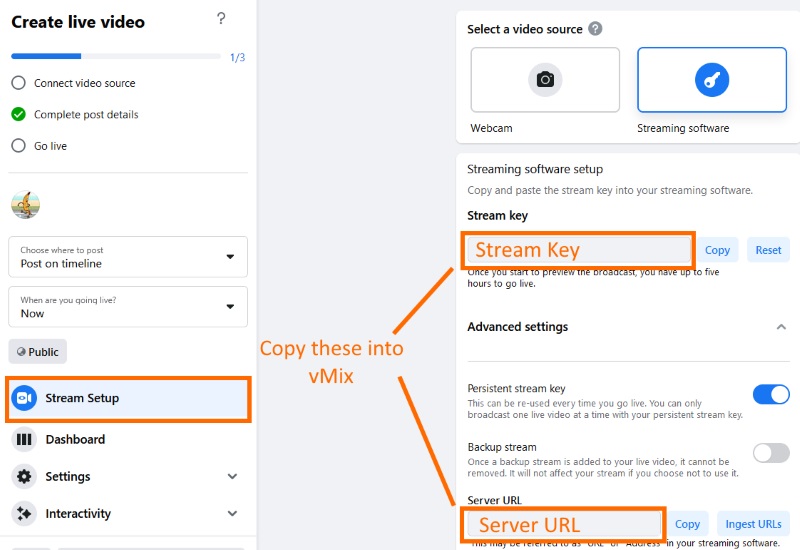
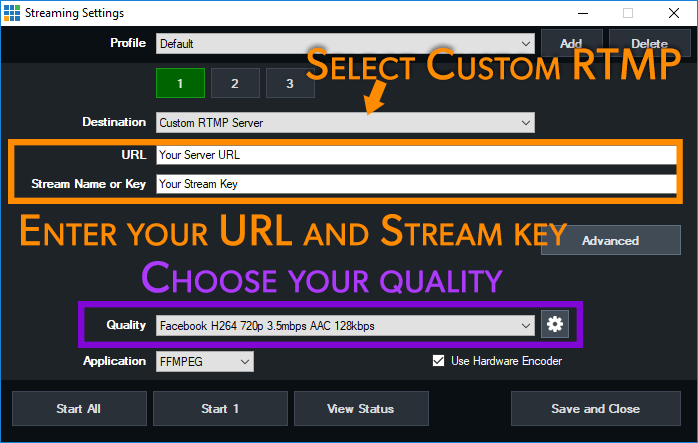
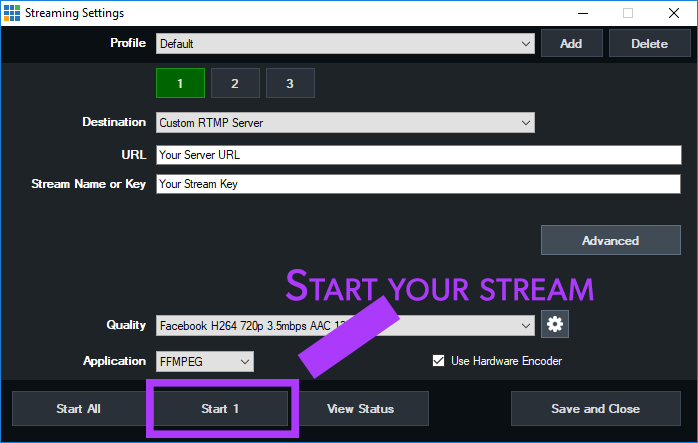
Then you can copy your Server URL and your Stream key into vMix and start streaming.
Step 7
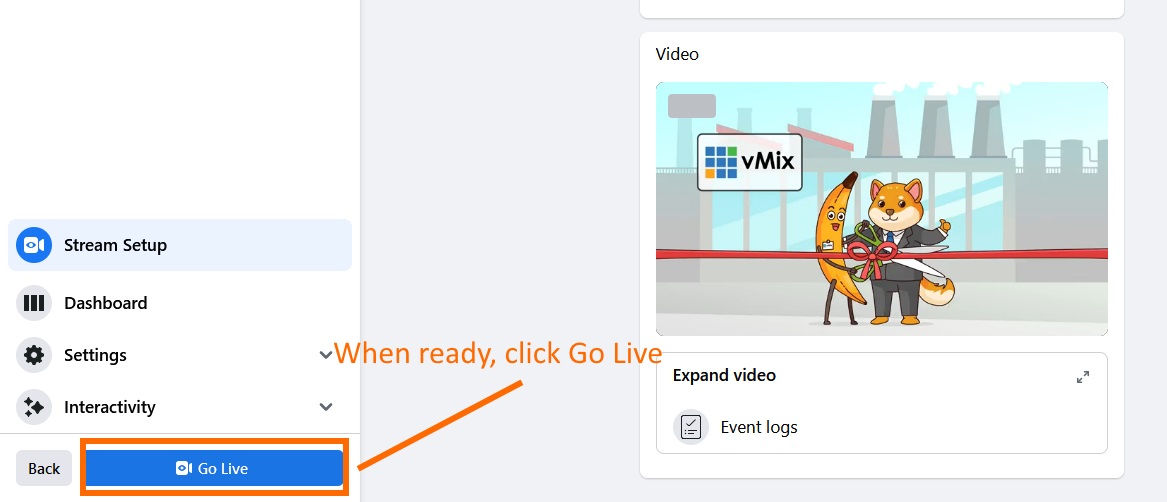
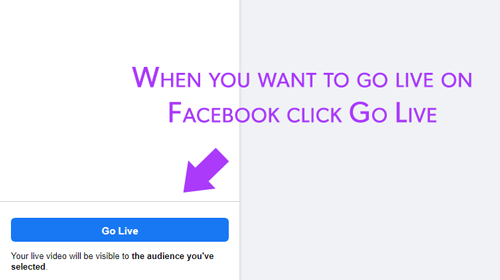
Head back to Facebook to preview your stream and when you want to go live on Facebook....click the Go Live button!
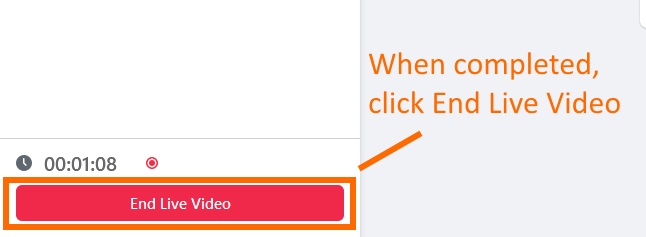
Step 8
When you've finished your stream, turn it off in vMix and then stop it on Facebook immediately after.
Older Facebook Producer Method.
Step 1
Log into your Facebook account and then navigate to the Facebook Live producer dashboard: https://www.facebook.com/live/producer
Step 2
Here you can make changes to your stream. Do you want to stream right now? Do you want to schedule your stream? You can do that on the left.
You can also choose other settings like whether you want to use a persistent stream key, which means you don't have to enter the key each time into vMix when you want to setup the stream.
Step 3
Then you can copy your Server URL and your Stream key into vMix and start streaming.
Step 4
Head back to Facebook to preview your stream and when you want to go live on Facebook....click the Go Live button!
Last Updated: Thursday, January 18, 2024 7:21:28 PM